How to update Endpoint(Account) Custom property labels in Saviynt
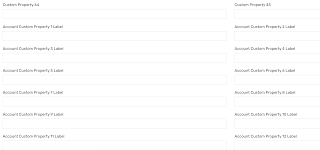
Saviynt supports 45 Custom properties to use to store account information and comes with default labels. To make it user-friendly and readable format we are required to update the labels.
This can be achieved in Saviynt by following the below steps.
Step 1: Log in to Saviynt Instance And Navigate to Endpoint
Navigate to Admin => Identity Repository => Security Systems => Select the Security System and Endpoint and then navigate to the Other Attributes page of Endpoint
Scroll down until you see the option to update the labels for the attributes, and update the editable text boxes for all the required custom properties
Note: This label change is applicable only for the selected endpoint, you need to update the same for all endpoints separately.
I personally Suggest adding the cp# at the end of the label so that you can easily identify the backend name
for Example for Custom Property 1 if the label is department then use department cp1
Note: this change takes time to reflect as the message.properties files need to update in all the pods of the instance, but not more than 15mins
Check out the other related articles below
To update role custom property labels:
https://saviyntworks.blogspot.com/2023/01/how-to-update-role-custom-property-lables-in-saviynt.html
To update Role custom property labels:
https://saviyntworks.blogspot.com/2023/01/how-to-update-role-custom-property-lables-in-saviynt.html


Comments
Post a Comment